

Friends of Padre Steve’s World,
Tonight, a rerun because I have been so busy. Probably will be the case for the next few days. Busy at work, trying to get a book manuscript ready by early next week, and lots to do at home. However, the posts will deal with both the Battle of Midway, and the D-Day Invasion. Depending on what time I have I might post an article dealing with current events. Have a good night and please be safe.
Today we remember the Battle of Midway, the turning point of World War Two in the Pacific. By all empirical means the vastly superior Japanese fleet should have defeated the Americans, but success in war is not based on material alone. There are things unaccounted for, things that happen in the confusion of battle that The Prussian military theorist Carl von Clausewitz wrote.
“War is the province of chance. In no other sphere of human activity must such a margin be left for this intruder. It increases the uncertainty of every circumstance and deranges the course of events.”
Six months after Pearl Harbor the United States Navy met the Imperial Japanese Navy in battle on the seas and in the airspace around Midway Island. It was a battle between a fleet that had known nothing but victory in the months after Pearl Harbor and one with the exception of a few minor tactical successes was reeling.

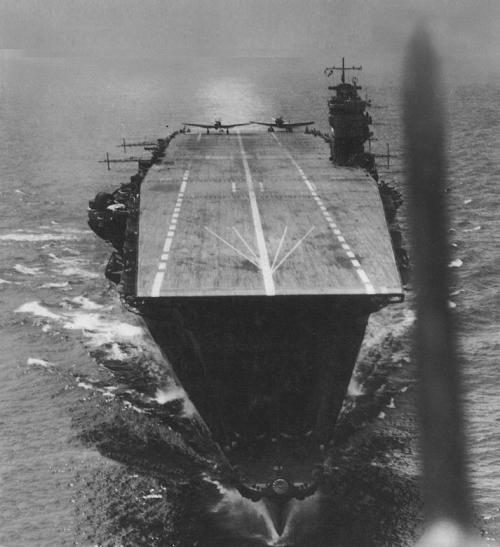
Akagi April 1942
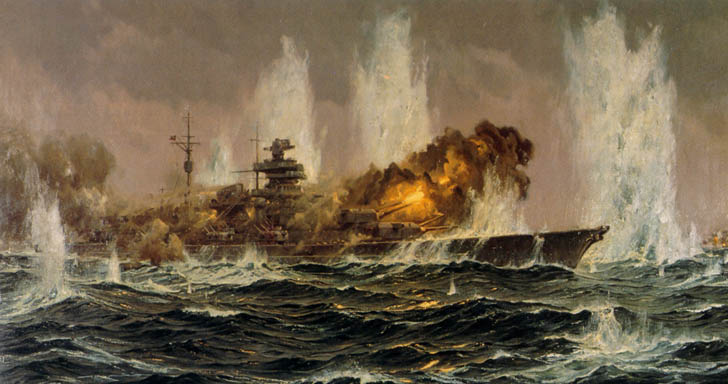
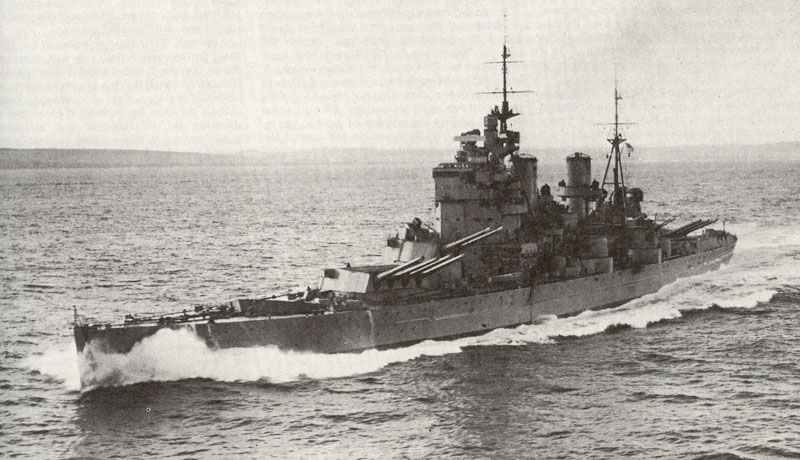
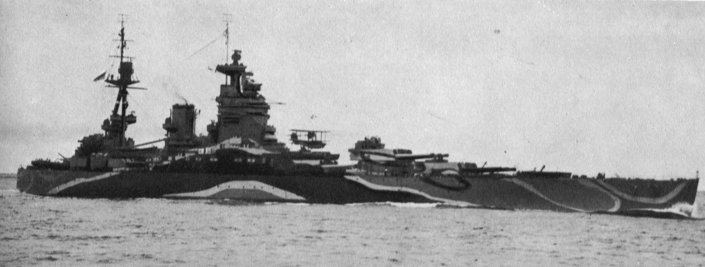
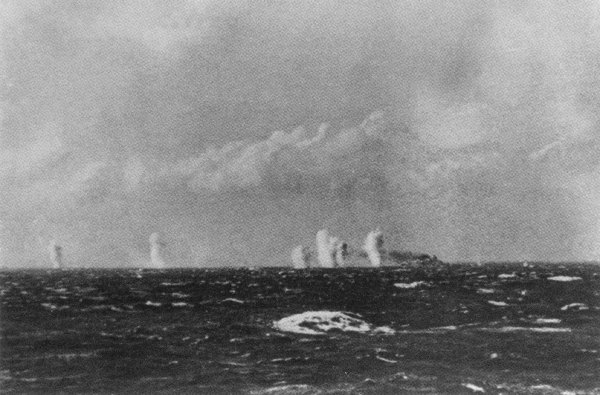
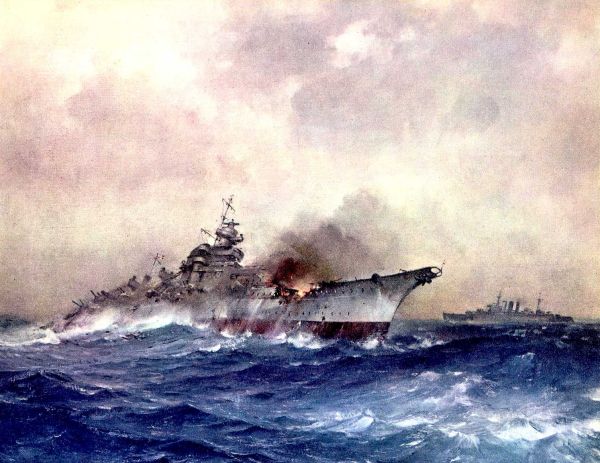
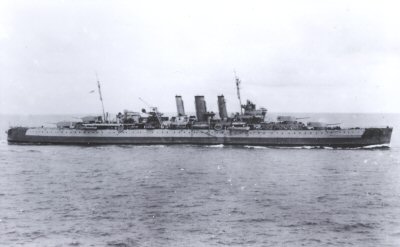
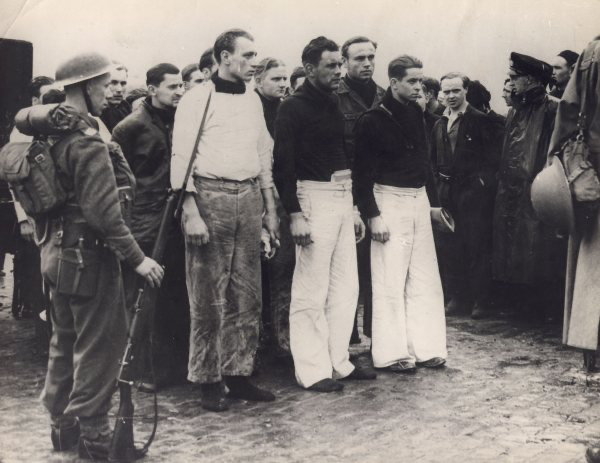
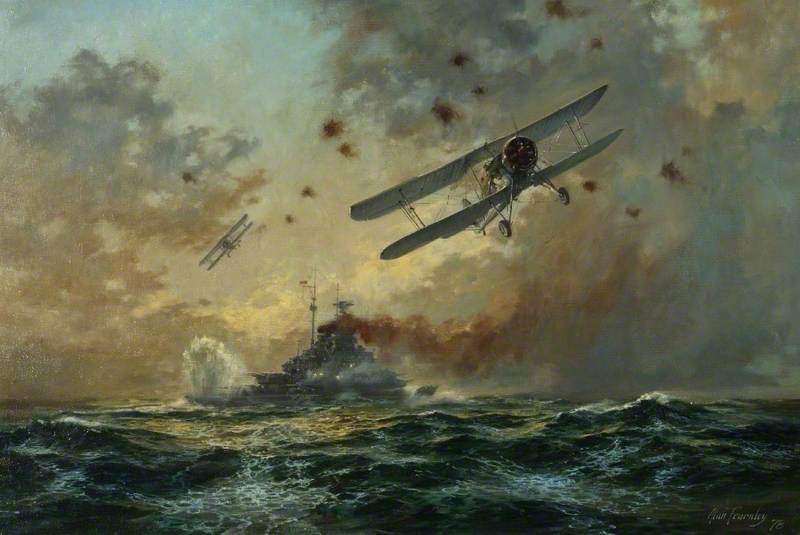
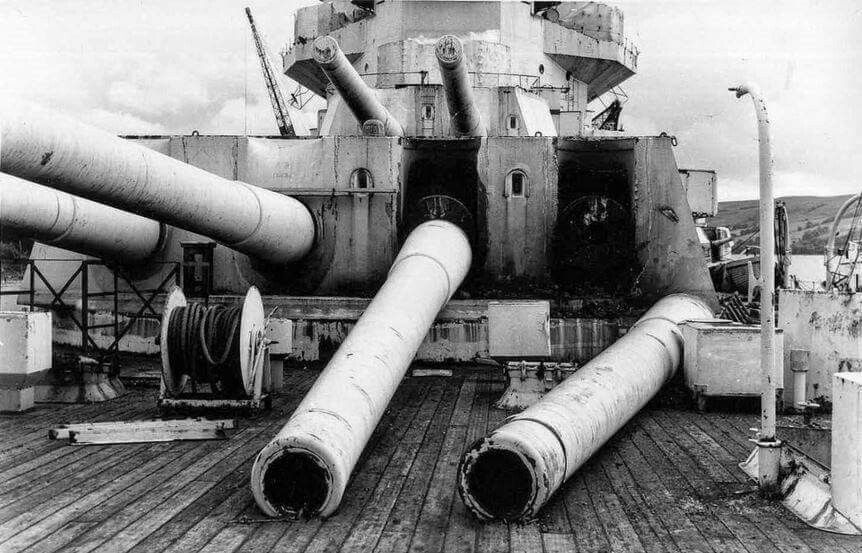
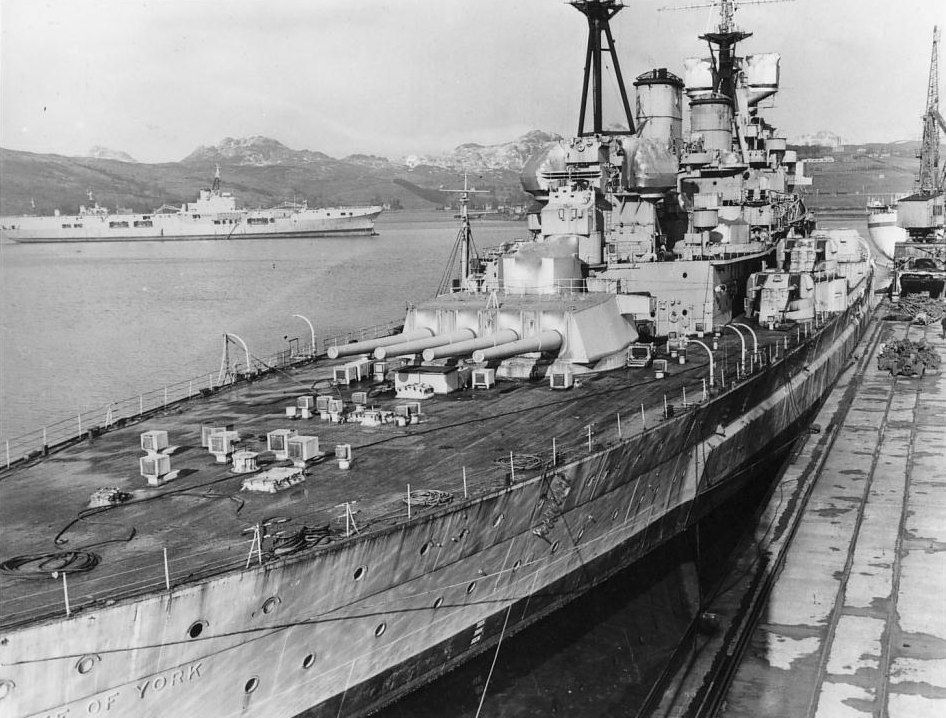
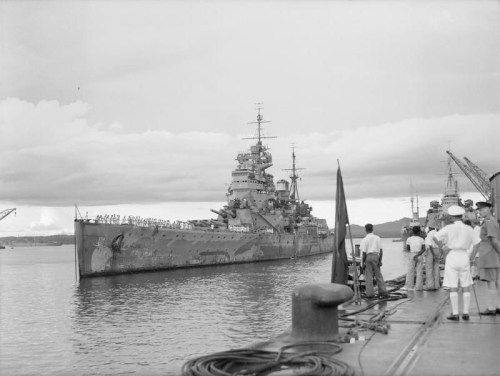
The Japanese had swept across the Pacific and the Indian Oceans and decimated every Allied Naval forces that stood in their way. After Pearl Harbor they had sunk the HMS Prince of Wales and HMS Repulse off of Singapore. Next in a series of engagements destroyed the bulk of the US Asiatic Fleet in the waters around the Philippines and the Dutch East Indies culminating in the Battle of the Java Sea where the bulk of the American, British, Dutch and Australian (ABDA) naval forces engaged were annihilated attempting to fight superior Japanese forces.

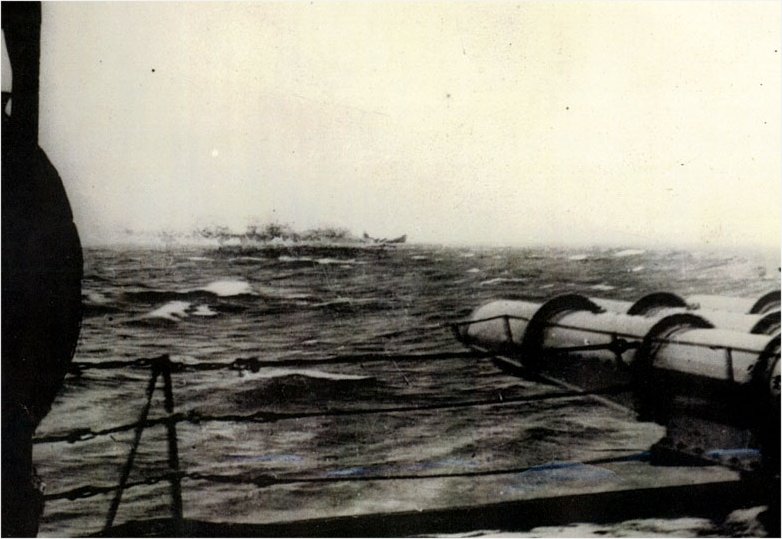
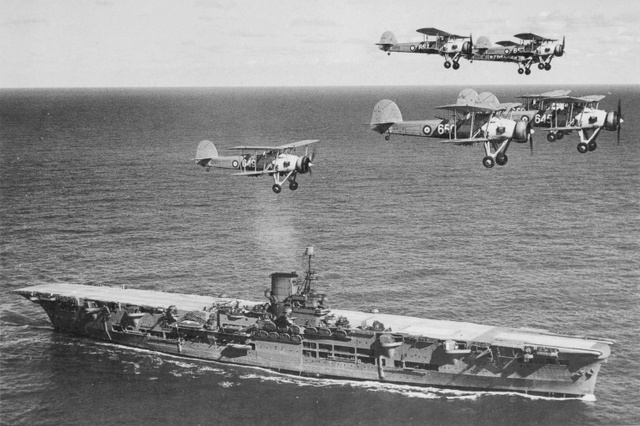
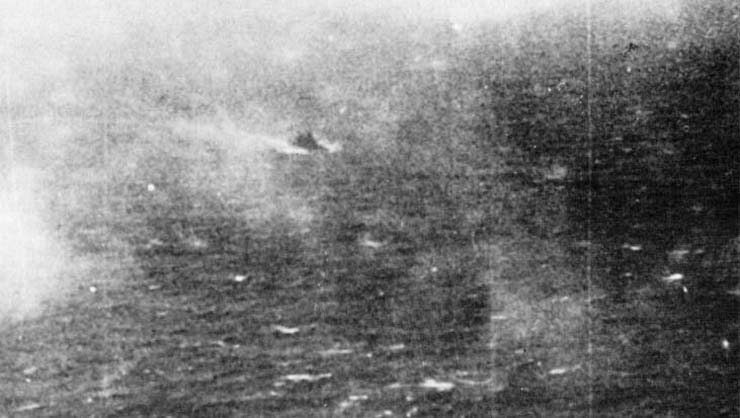
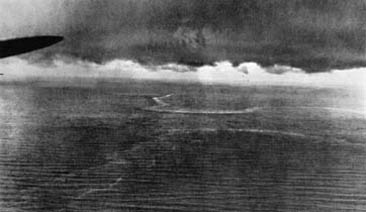
HMS Hermes sinking after Japanese Carrier air attack in the Indian Ocean
In the Indian Ocean Admiral Nagumo’s carriers dispatched a force of Royal Navy cruisers and the Aircraft Carrier HMS Hermes. In only one place had a Japanese Naval task force been prevented from achieving its goal. At the Battle of the Coral Sea where Task Force 11 and Task Force 17 centered on the Carriers USS Lexington and USS Yorktown prevented a Japanese invasion force from taking Port Moresby sinking the light carrier Shoho, damaging the modern carrier Shokaku and decimating the air groups of the Japanese task force.
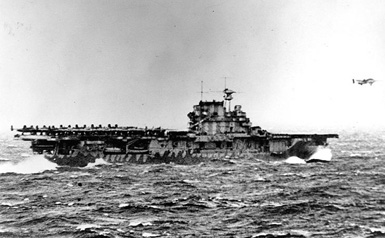
USS Hornet launching B-25 Bombers during the Doolittle Raid
In May US Navy code breakers under the direction of Commander Joe Rochefort at Pearl Harbor discovered the next move of the Imperial Navy an attack on Midway Island and the Aleutian islands. Since the occupation of Midway by Japanese forces would give them an operational base less than 1000 miles from Pearl Harbor Admiral Chester Nimitz committed the bulk of his naval power, the carriers USS Enterprise CV-6, USS Yorktown CV-5 and USS Hornet CV-8 and their 8 escorting cruisers and 15 destroyers, a total of 26 ships with 233 aircraft embarked to defend Midway. Nimitz also sent a force of 5 cruisers and 4 destroyers to cover the Aleutians.
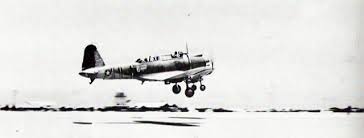
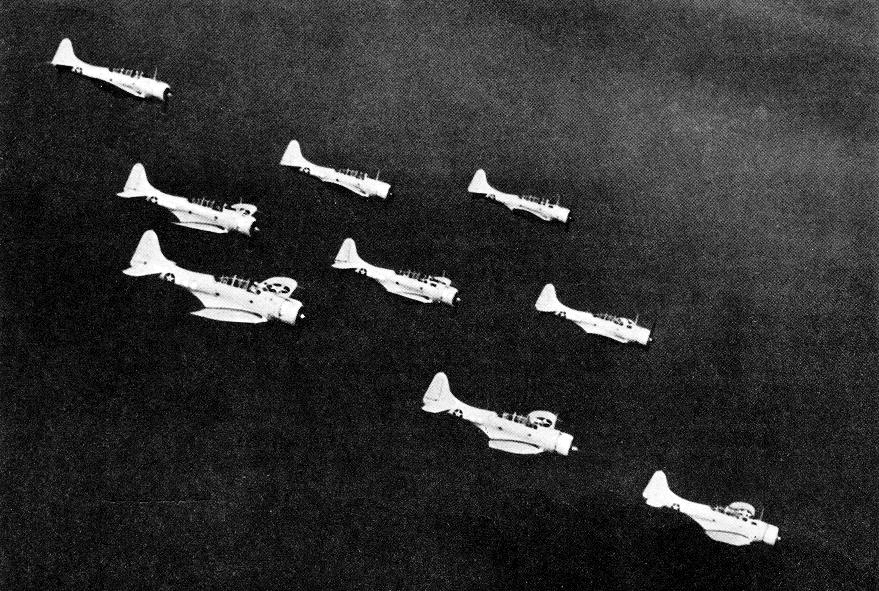
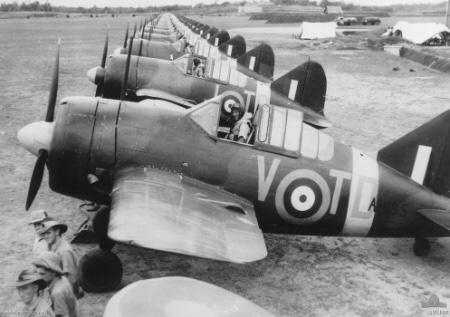
SBU-2 Vindicator Dive Bomber landing on Midway (above) PBY Catalina (below)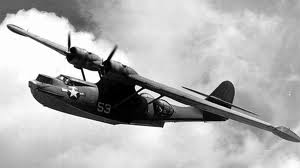
Land based air assets on Midway were composed of a mixed Marine, Navy and Army air group of 115 aircraft, many of which were obsolete. Aboard Midway there were 32 US Navy PBY Catalina Flying Boats, 83 fighters, dive bombers, torpedo planes and Army Air Force bombers piloted by a host of inexperienced pilots.
Nimitz’s instructions to his Task Force Commanders was simple:
“You will be governed by the principle of calculated risk, which you shall interpret to mean the avoidance of exposure of your force to attack by superior enemy forces without good prospect of inflicting … greater damage on the enemy.”
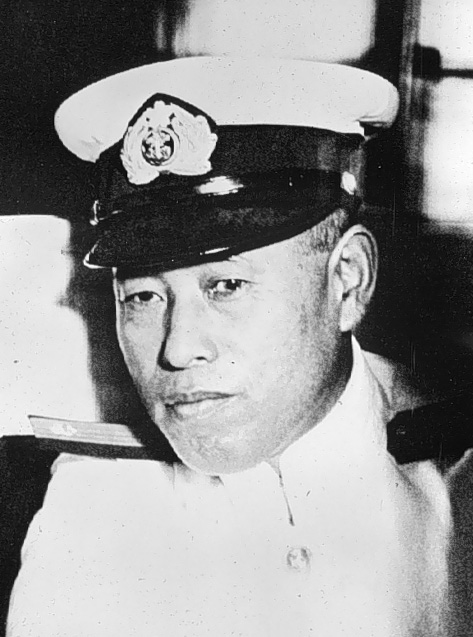
Admiral Isoroku Yamamoto commanded the Combined Fleet. The victor of Pearl Harbor and the triumph’s in the first six months of the Pacific War was determined to end the war with a decisive battle at Midway. His plans were opposed by many in the Imperial General Staff, especially those in the Army but when the the American’s dispatched Hornet to deliver the Doolittle Raid on Tokyo, all opposition to the attack was dropped.
Yamamoto’s plan was overly complicated, and it relied too much on diversions, and placed his hugely superior fleet in a situation where none of his task forces, or the Main Body of the Combined Fleet could give mutual support each other, with catastrophic repercussions. Yamamoto and his planner relied too much on what they thought the Americans would do without the knowledge that the Americans had broken their code and had a very good idea of Yamamoto’s deployments, plans, and timetable.

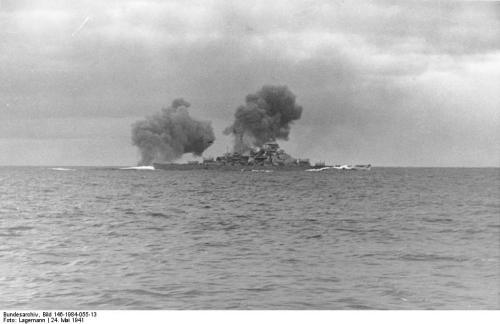
The Japanese sent a force of 7 battleships and 7 carriers against Midway. These included the elite First Carrier Striking Group composed of the Pearl Harbor attackers Akagi, Kaga, Soryu and Hiryu and their highly trained and combat experienced air groups. Among the surface ships was Yamamoto’s flagship, the mighty Battleship Yamato, at 72,000 tons and armed with 9 18” guns, the most powerful and largest battleship ever to see combat.
The First Carrier Strike Group strike force was built around the aircraft carriers Akagi, Kaga, Hiryu and Soryu included 273 aircraft and was escorted by 2 battleships, 3 cruisers and 12 destroyers. They, along with the occupation group were to take Midway and then destroy the US Navy when it came out to fight. TheIr assumption was that the Americans would be unaware and unprepared for their plan and in a reaction mode, but the Americans were already at Midway.
In order to deceive the Americans, Yamamoto sent a force force of 4 battleships, 12 destroyers to screen to the Aleutian invasion force which was accompanied by 2 carriers 6 cruisers and 10 destroyers. The carriers in this force embarked a further 114 aircraft.
Despite this great preponderance in numbers Yamamoto’s plan was complex and his forces too far apart from each other to offer support should and get into trouble. The powerful Japanese Task forces were scattered over thousands of square miles of the Northern Pacific Ocean where they could not rapidly come to the assistance of any other group. Since the Americans were already ahead of them, Yamamoto’s deployment plans opened the door for the Americans to strike a blow against the First Carrier Strike Group without having to be concerned that the Japanese Main Body would be in position to strike back.

With the foreknowledge Of the Japanese plans provided by the code breakers of Commander Rochefort and Station Hypo the US forces hurried to an intercept position northeast of Midway eluding the Japanese submarine scout line by a full day. Admiral Yamamoto presumed that his submarines would find the Americans when they sailed to respond to the Japanese attack on Midway.
However, Admiral Nimitz had already dispatched Task Force 16 with the Enterprise and Hornet sailed formMidway from Pearl Harbor well under the command of Rear Admiral Raymond A Spruance, and Task Force 17 under Rear Admiral Frank “Jack” Fletcher with the Yorktown which had been miraculously brought into fighting condition after suffering heavy damage at Coral Sea. The Japanese believed that she had been sunk at Coral Sea, and assumed that they would only face two carriers. Fletcher, who was senior to Spruance assumed overall command and Admiral Nimitz instructed his commanders to apply the principle of calculated risk when engaging the Japanese as the loss of any or all of the US carriers would place the entire Pacific at the mercy of the Japanese Navy.
On June 3rd a PBY Catalina discovered the Japanese invasion force. US Army Air Force B-17 Flying Fortresses, long range bombers based at Midway launched attacks against it, but caused no damage. That evening a PBY from Midway hit a tanker on the bow, with a torpedo but caused little damage.
On the morning of the 4th the Americans adjusted their search patterns closer in to Midway as the Japanese came into range of Midway and commenced their first air strike against the island, still believing that no US Navy forces were in the vicinity, much less three carriers.

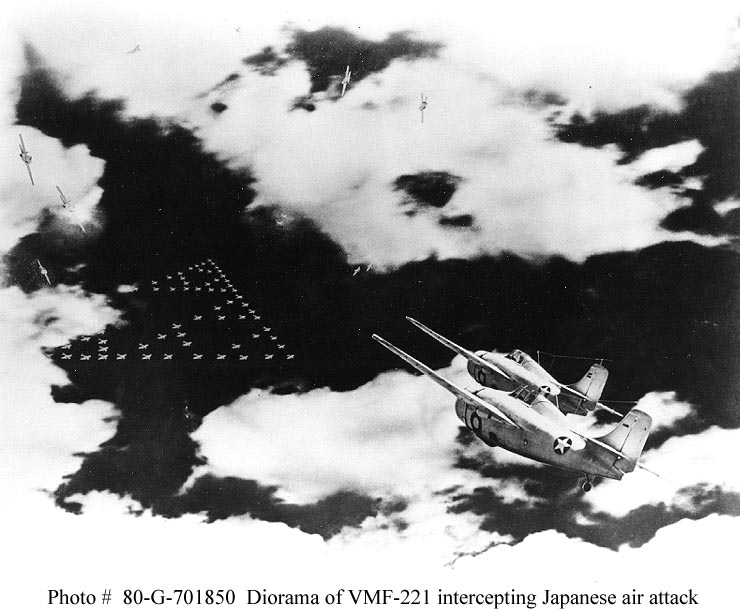
In response, land based aircraft from Midway attacked the Japanese carrier force taking heavy casualties while failing to damage the Japanese task force. The American Carrier task forces launched their strike groups at the Japanese carrier strike group, just leaving enough aircraft behind to provide Combat Air Patrol and Anti-submarine patrol missions to protect the carriers.
As the Americans winged toward the Japanese fleet the Japanese were in a state of confusion. The confusion was caused when a scout plane from the Heavy Cruiser Tone which had been delayed at launch, discovered US ships but did not initially identify a carrier among them, until later into the patrol. The carrier Tone’s scout found was the Yorktown and TF 17. But for Admiral Nagumo who first expected no American naval forces, then received a report of surface ships without a carrier followed by the report of a carrier the reports were unsettling, and added to the fog of war which now shrouded the Kido Butai.
Orders and counter-orders were issued as the Japanese attempted to recover their strike aircraft while trying to prepare for a second strike on Midway. and then the discovery of the Yorktown task force created confusion. Orders were changed and air crews now had to unloaded ground attack ordnance in favor of aerial torpedoes and armor piercing bombs. The hard working Japanese aircrews did not have time to stow the ordnance removed from the aircraft they were preparing to send against Yorktown. Finally, at 1020 they’re hard work had the Japanese strike group ready to launch against the US carriers.
As the Japanese crews worked the Japanese carriers were engaged in fending off attacks by the US torpedo bomber squadrons, VT-6 from Enterprise, VT-8 from Hornet and VT-3 from Yorktown. The Japanese Combat Air Patrol ripped into the slow, cumbersome, and under armed TBD Devastators as they came in low to launch their torpedoes. Torpedo Eight from Hornet under the command of LCDR John C Waldron pressed the attack hard but all 15 of the Devastators were shot down. Only Ensign George Gay’s aircraft was able to launch its torpedo before being shot down. Gay would be the sole survivor of the squadron.

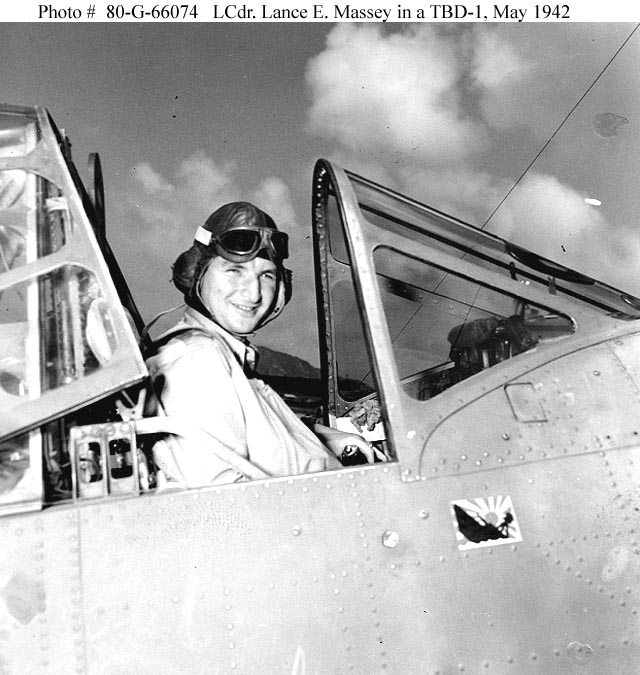
LCDR Lance Massey CO of VT-3

LCDR John Waldron CO of VT-8

LCDR Eugene Lindsey CO of VT-6

Torpedo 6 from Enterprise under the command of LCDR Eugene Lindsey suffered heavy casualties losing 10 of 14 aircraft with Lindsey being one of the casualties. The last group of Devastators to attack was Torpedo 3 from Yorktown under the command of LCDR Lem Massey from the Yorktown. These aircraft were also decimated and Massey killed but they had drawn the Japanese Combat Air Patrol down to the deck leaving the task force exposed to the Dive Bombers of the Enterprise and Yorktown.
Meanwhile the Americans also suffered under the fog of war. There had been confusion among the Americans as to the exact location of the Japanese Carriers. Bombing 8 and Scouting 8 from Hornet did not find the carriers and had to return for lack of fuel. But their miscalculation cost aircraft and lives. A number of bombers and their fighter escorts having to ditch inn the ocean and wait for rescue, and all did not survive.
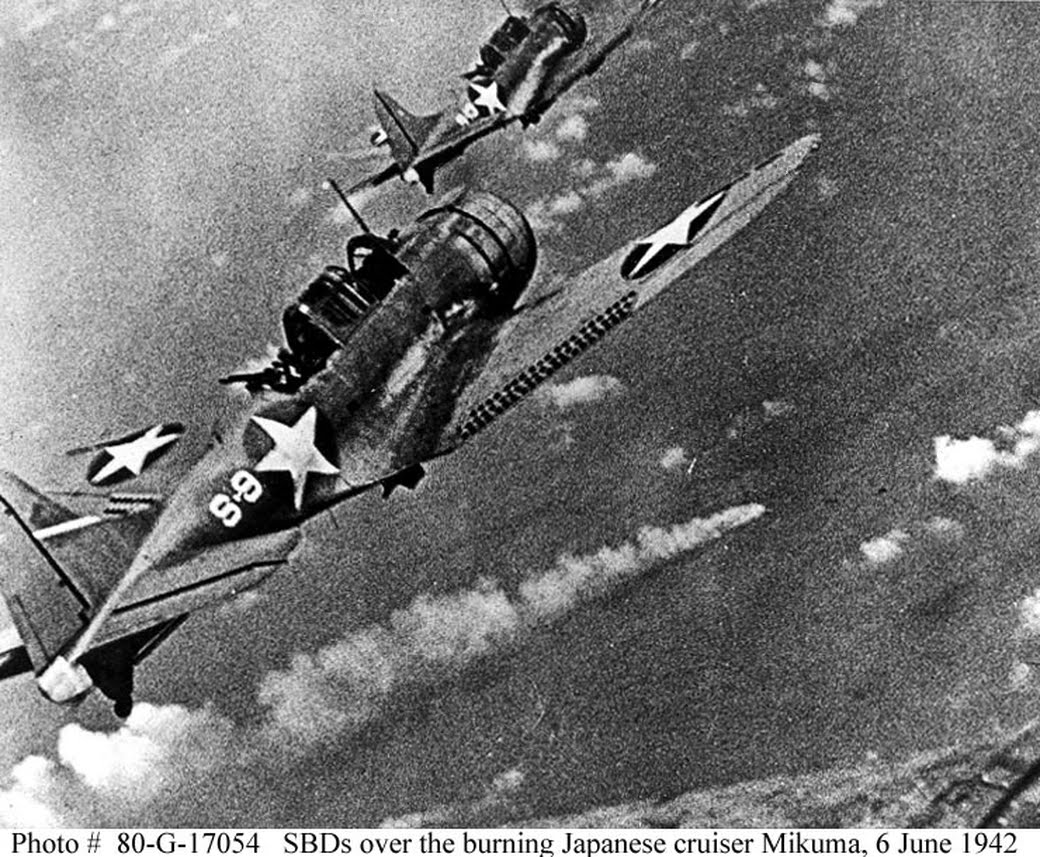
it was a different situation for the SBD Douglas Dive Bombers from the Enterprise group composed of Bombing-6 and Scouting 6 under CDR Wade McClusky was perilously low on fuel when they spotted the wake of a Japanese destroyer moving at high speed McClusky and his aircraft followed it to the Japanese Task Force. The Yorktown’s Dive Bombers under LCDR Max Leslie arrived about the same time.
When the American dive bombers arrived over the Japanese Carrier Strike Force they found the skies empty of Japanese aircraft. Below, aboard the Japanese ships there was a sense of exhilaration as each succeeding group of land based bombers and the carrier based torpedo planes was brought down. As those attacks died out and with their own aircraft ready to launch to deal a fatal blow to the American carrier, they wondered how big their victory would be. In their minds the war would soon be decided, the American Navy defeat, Midway captured, and the Americans suing for peace.

Akagi dodging bombs at Midway
LT Dick Best of Scouting 6 peeled off from the attack on Kaga and shifted to the Japanese flagship Akagi. On board Akagi were two of Japan’s legendary pilots CDR Mitsuo Fuchida leader of and CDR Minoru Genda the architect of the Pearl Harbor attack and subsequent string of Japanese victories. Both officers were on the sick list and had come up from sick bay to watch as the fleet was attacked. Seeing Kaga burst into flames they stood mesmerized until Akagi s lookouts screamed out the warning “helldivers” at 1026. Best’s few aircraft hit with deadly precision landing two of their bombs on Akagi’s flight deck creating havoc among the fully loaded and fueled aircraft. The bombs started fires and ignited secondary explosions of the high explosive bombs which still lay about the decks, which turned the ship into a witch’s cauldron. By 1046 Admiral Nagumo and his staff were forced to transfer the flag to the cruiser Nagara as Akagi’s crew tried to bring the flames under control. They would continue to do so into the night until nothing more could be done. They abandoned ship at 2000. Admiral Yamamoto ordered her scuttled and at 0500 on June 5th the mighty Akagi, the pride of the Japanese carrier force was scuttled.
VB-3 under LCDR Max Leslie from the Yorktown stuck the Soryu with 17 aircraft, however only 13 of the aircraft had bombs due to an electronic arming device malfunction on 4 of the aircraft, including that of Commander Leslie. Despite this Leslie led the squadron as it dove on the Soryu at 1025, hitting that ship with 3 and maybe as many as 5 bombs. Soryu like her companions burst into flames as the ready aircraft and ordnance exploded about her deck. She was ordered abandoned at 1055 and would sink at 1915 taking 718 of her crew with her.
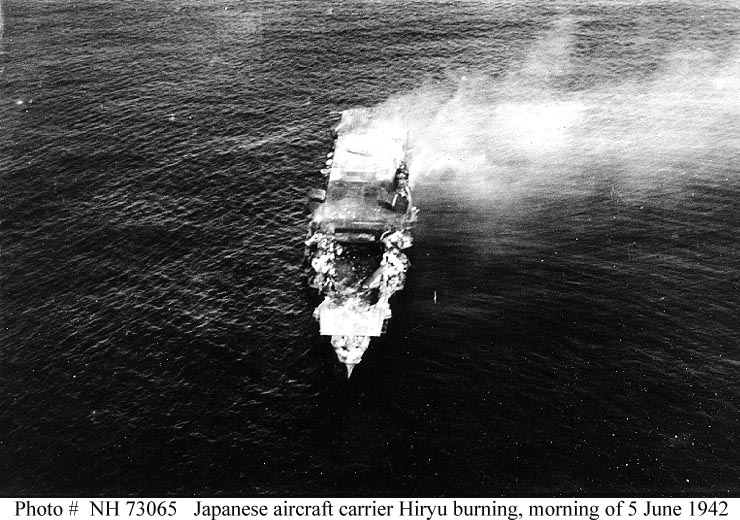
The remaining Japanese flattop the Hiryu attained the same fate later in the day after engaging in an epic duel with the Yorktown which her aircraft heavily damaged. Yorktown would be sunk by the Japanese submarine I-168 while being towed to safety. She was torpedoed on the 6th but lingered until the 7th when she sank as dawn was breaking,

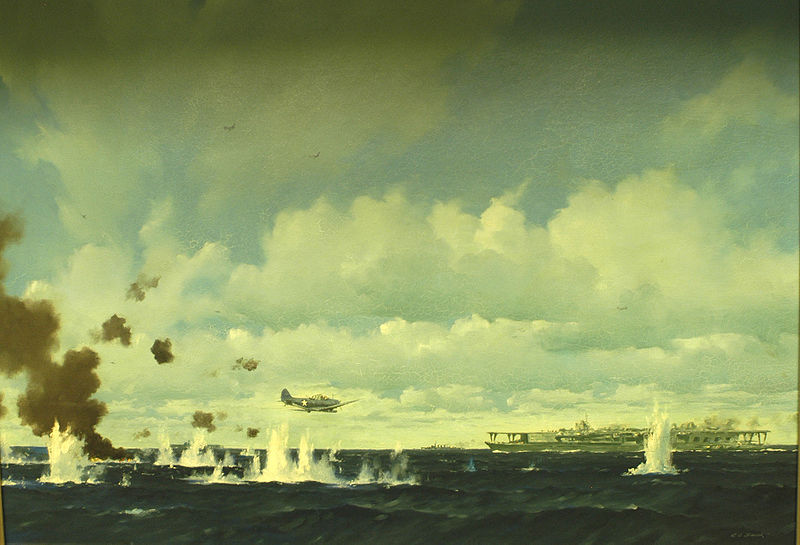
USS Yorktown under attack from Kate Torpedo Bombers from Hiryu on June 4th 1942
In five pivotal minutes the course of the war in the Pacific was changed. Authors have entitled their books about Midway Incredible Victory by Walter Lord and Miracle at Midway by Gordon Prange. Those titles reflect the essence of the battle.
At Midway a distinctly smaller force defeated a vastly superior fleet in terms of experience, training and equipment. At the very moment that it appeared to the Japanese that they would advance to victory their vision disappeared. In a span of less than 5 minutes what looked like the certain defeat of the US Navy, became one of the most incredible and even miraculous victories in the history of Naval warfare. In those 5 minutes history was changed in a breathtaking way, even as any combination of events could have negated what happened in those five minutes. While the war would drag on and the Japanese still inflict painful losses and defeats on the US Navy in the waters around Guadalcanal the tide had turned and the Japanese lost the initiative in the Pacific never to regain it.
The Japanese government hid the defeat from the Japanese people And instead proclaimed a great victory. The American government could not fully publicize the victory for fear of revealing the intelligence that led to the ability of the US Navy to be at the right place at the right time and defeat the Imperial Navy.
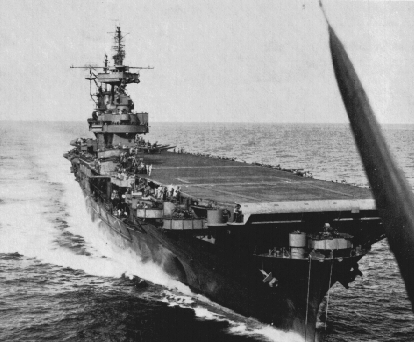
USS Enterprise
The American victory at Midway changed the course of the war in the Pacific. The Battle of Midway established the aircraft carrier and the fast carrier task force as the dominant force in naval warfare which some would argue it still remains. Finally those five minutes ushered in an era of US Navy dominance of the high seas which at least as of yet has not ended as the successors to the Enterprise, Hornet and Yorktown ply the oceans of the world and the descendants of those valiant carrier air groups ensure air superiority over battlefields around the world.
Walter Lord, whose history of the battle is still the classic presentation of it wrote:
“Even against the greatest of odds, there is something in the human spirit – a magic blend of skill, faith, and valor – that can lift men from certain defeat to incredible victory.”
Those are words that Americans concerned about the survival of our republic today from this insidious forces of Trump’s looming fascist autocracy need to remember. Courageous people, making the Right decisions at the right moment despite danger and uncertainty, can change the course of history, and you do not need to command a carrier task force, or lead a dive bomber squadron to do it, Just stand for truth and facts and speak out regardless of the consequences.
Until tomorrow,
Peace
Padre Steve+


