“TURKEY TROTS TO WATER GG FROM CINCPAC ACTION COM THIRD FLEET INFO COMINCH CTF SEVENTY-SEVEN X WHERE IS RPT WHERE IS TASK FORCE THIRTY FOUR RR THE WORLD WONDERS.” Admiral Nimitz to Admiral Halsey
After Admiral William “Bull” Halsey felt that he had heavily damaged the Japanese Center Force during the Battle of the Sibuyan Sea he withdrew the Fast Battleships of Task Force 34 from the San Bernardino Strait in order to use them in a surface engagement against Admiral Jisaburo Ozawa’s Northern Force. Halsey assumed that Ozawa’s carriers were the main threat to the American invasion forces. However he did not know that Ozawa’s carriers had very few aircraft embarked and that the Northern force was in fact a decoy, designed to draw him away from Vice Admiral Takeo Kurita’s Center and the two task forces of the Southern force.
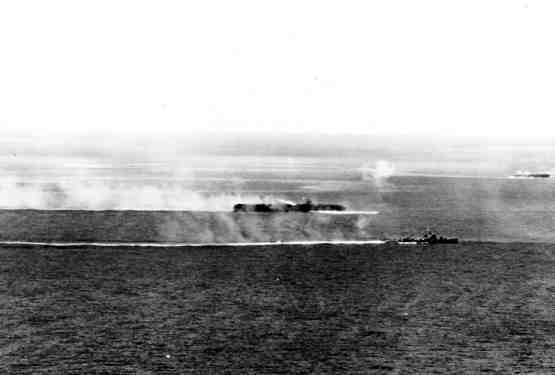
The Zuikaku uder attack at Cape Engano
When Halsey’s aircraft reported the Center force withdrawing he believed that the threat had been removed. He wrote in his memoirs “I believed that the Center Force had been so heavily damaged in the Sibuyan Sea that it could no longer be considered a serious menace to Seventh Fleet.” Thus he moved with haste to intercept, engage and destroy the Northern force and its carriers and battleships. Halsey believed that his engagement against the Northern force would culminate when his fast battleships destroyed whatever Japanese surface forces remained.
It was not a bad assumption. Ever since the early days of the Pacific war the truly decisive engagements had been decided by carriers. Unfortunately for the American sailors of Taffy-3, the group of Escort Carriers, destroyers and destroyer escorts which encountered Kurita’s Center force which had doubled back overnight and passed through the San Bernardino Strait surprising Rear Admiral Thomas Kinkaid’s task group of “Jeep” Carriers.
The Battle off Samar
The unequal battle that ensued off Samar was a near run thing for the Americans. Had Kurita not been confused about what forces he was facing and pressed his attacks he may have inflicted painful damage on the actual invasion forces. However after a morning of battle, in which Taffy-3’s destroyers, destroyer escorts, aircraft and even the Jeep carriers themselves inflicted heavy damage on the Japanese force Kurita withdrew.
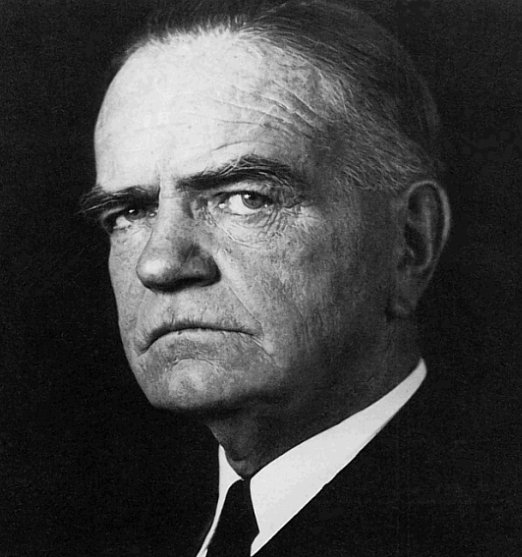
Admiral William “Bull” Halsey
However as Taffy-3 battled for its life against Kurita’s battleships, cruisers and destroyers Halsey’s carrier air groups were pounding Ozawa’s hapless carriers and their escorts. About 0800 on the 25th Kinkaid’s desperate messages began to reach Nimitz and Halsey. However since Halsey did not believe just how serious the situation was he continued to pursue Ozawa’s force. When he received Nimitz’s message he was incensed. The message “TURKEY TROTS TO WATER GG FROM CINCPAC ACTION COM THIRD FLEET INFO COMINCH CTF SEVENTY-SEVEN X WHERE IS RPT WHERE IS TASK FORCE THIRTY FOUR RR THE WORLD WONDERS was composed of three parts. The preface “Turkey trots to water” was padding, as was the last part “the world wonders.”

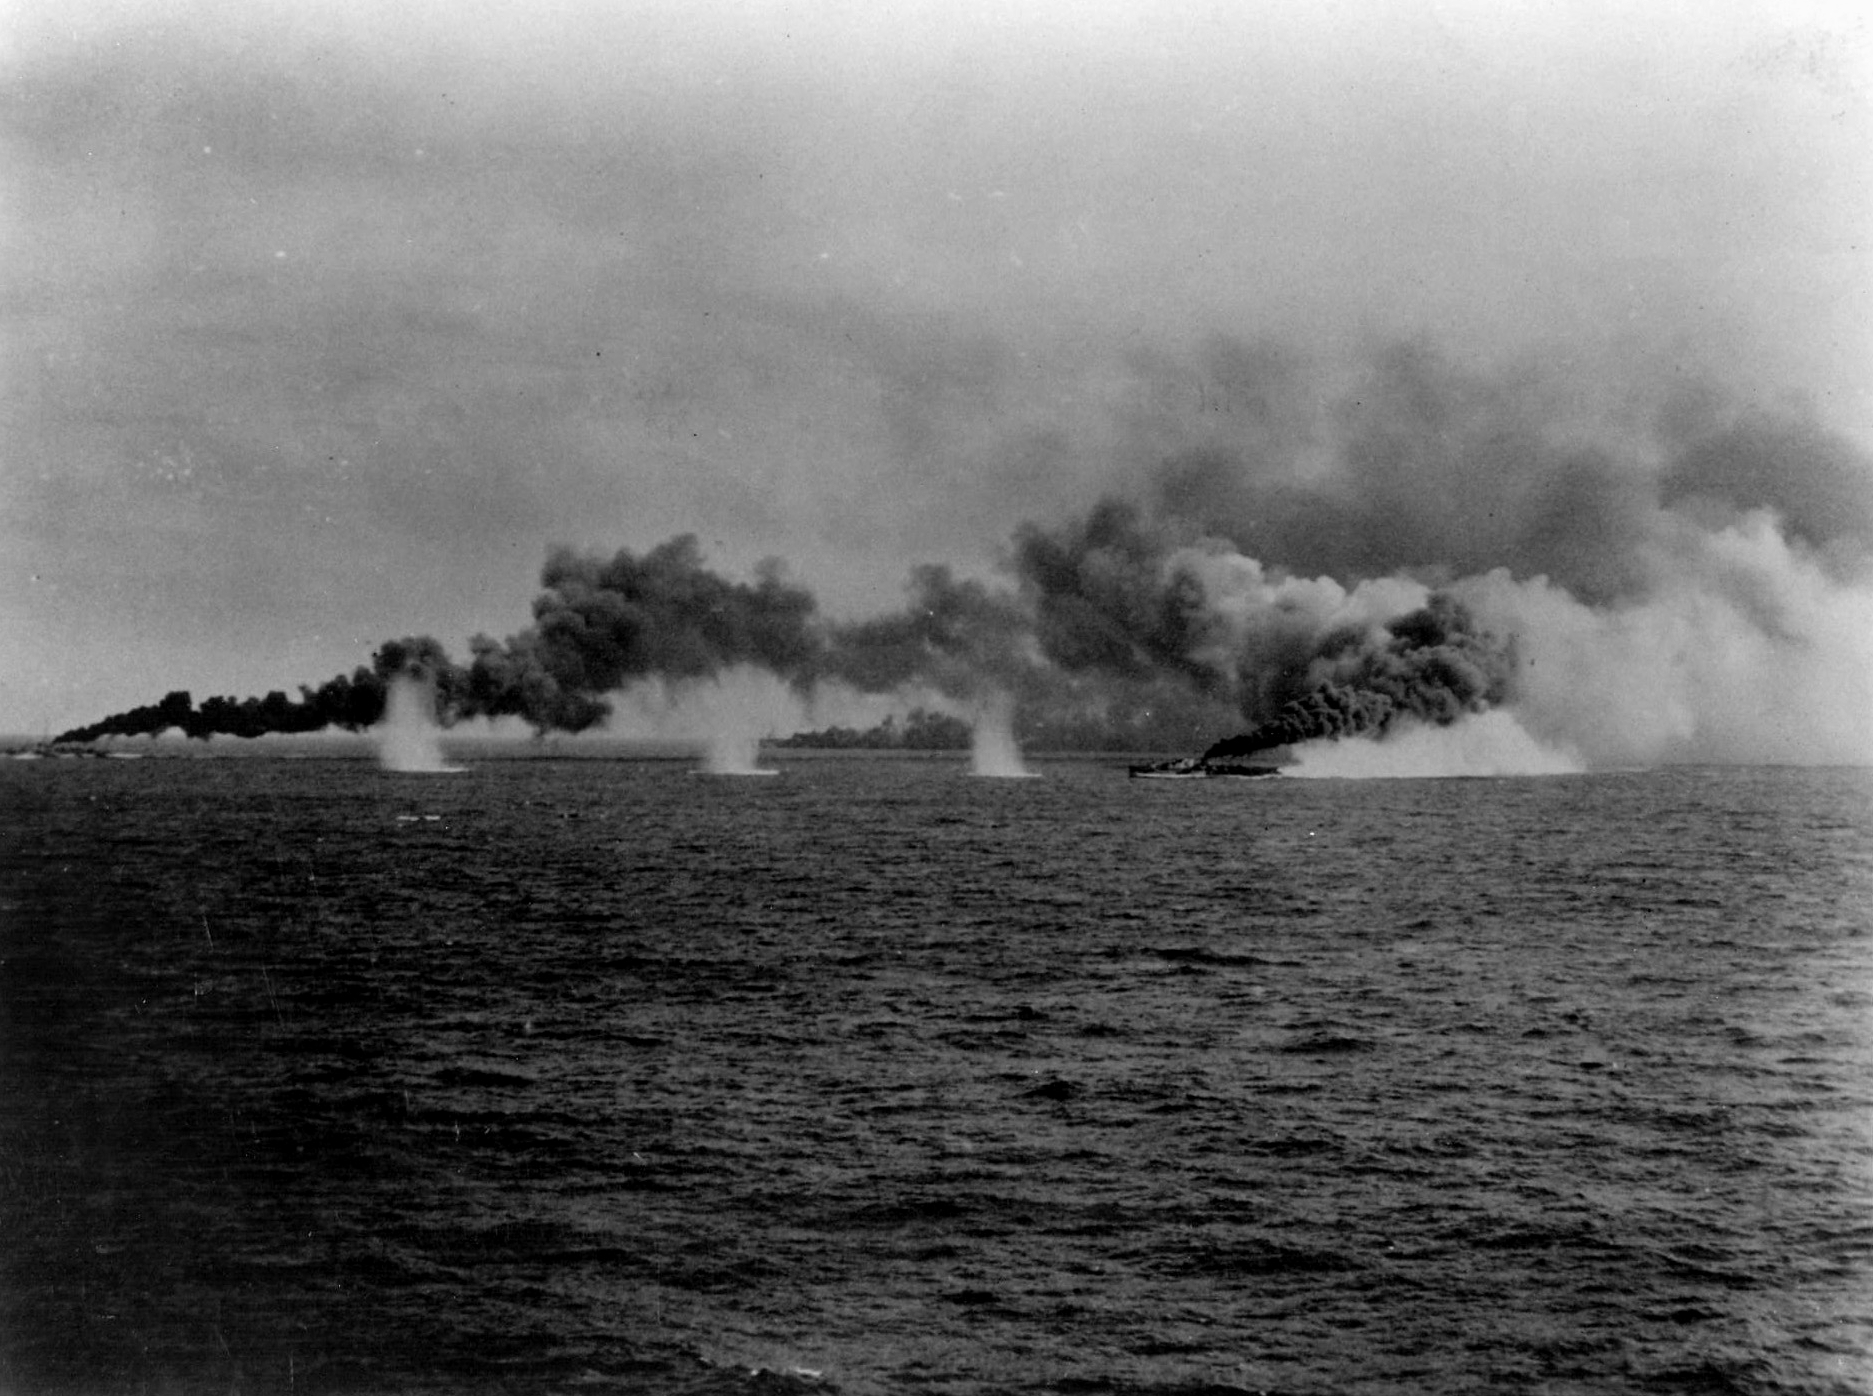
Light Carrier Zuiho under attack
However the communications officer on Halsey’s flagship only removed the first section leaving “Where is Third Fleet, the world wonders.” Halsey was flabbergasted and though the battleships of Task Force 34 were almost in range of the Japanese force he sent them south to relieve Kinkaid’s beleaguered force. However by the time Vice Admiral Willis Lee’s battle line arrived Kurita had withdrawn, losing 3 heavy cruisers sunk, three heavy cruisers and one destroyer heavily damaged.

Zuikaku being abandoned
All the Japanese carriers were sunk along with a light cruiser and a number of destroyers, but Kurita’s heavy forces escaped. Among the Japanese losses was the carrier Zuikaku the last surviving carrier of the Pearl Harbor attack. Naval historian Samuel Elliott Morrison wrote:
“If TF 34 had been detached a few hours earlier, after Kinkaid’s first urgent request for help, and had left the destroyers behind, since their fueling caused a delay of over two and a half hours, a powerful battle line of six modern battleships under the command of Admiral Lee, the most experienced battle squadron commander in the Navy, would have arrived off the San Bernardino Strait in time to have clashed with Kurita’s Center Force… Apart from the accidents common in naval warfare, there is every reason to suppose that Lee would have “crossed the T” and completed the destruction of Center Force.”
The Battle of Cape Engano closed the epic extended battle of Leyte Gulf. The victory of the US Navy was decisive even without the final destruction of Kurita’s forces. The remnants of the Japanese forces would never mount a serious offensive threat again. The survivors would be hunted down over the next 9 months, some sunk by submarines, other in surface engagements, still more to air attacks at Okinawa and in Japanese ports.

Halsey received much criticism for his decision to withdraw TF 34 from San Bernardino Strait. However in his defense the action exposed one of the key problems in any kind of warfare, the problem of seams. Kinkaid’s escort carriers belonged to 7th Fleet which came under the operational control of Douglas MacArthur’s Southwest Pacific Region while Halsey commanded 3rd Fleet fell under Admiral Nimitz’s Central Pacific region. This created a situation where two fleets belonging to two regions under two separate commanders were attempting to fight a single battle. The principle of unity of command and unity of effort was violated with nearly disastrous results.
Peace
Padre Steve+


 Aircraft over Saratoga
 USS Langley CV-1 The “Covered Wagon”
  Langley after conversion to AV-3
 USS Lexington CV-2
 USS Saratoga CV-3
 Lexington Burning and Sinking
 Saratoga 1945
 Saratoga September 1943
 Saratoga burning after Kamikaze hits in 1945
 The End of an Era- Saratoga goes down at Bikini